Garage Door Opener Troubleshooting: Complete Guide to Fix Common Problems
Troubleshooting your garage door opener can save you time and money while ensuring your home’s security and convenience. Whether your door won’t open, the remote isn’t responding, or there are strange noises, this comprehensive guide will help you diagnose and resolve common issues effectively.
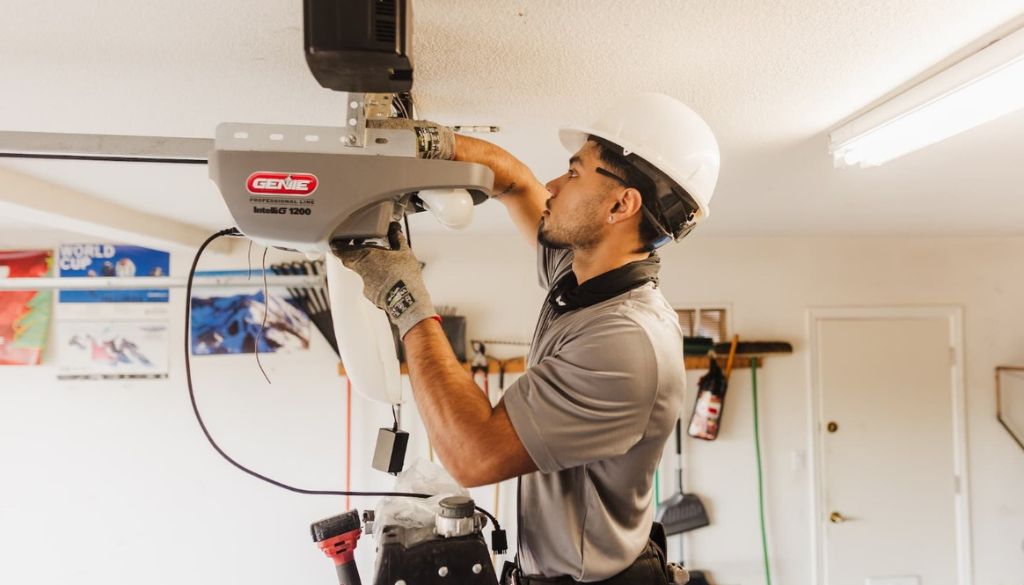
Understanding Your Garage Door Opener Components
Before diving into troubleshooting, it's important to understand the key components of your garage door opener system. Knowing these parts helps when diagnosing problems and performing maintenance.
- Motor Unit: The powerhouse that drives the opener mechanism.
- Remote Control & Wireless Keypad: Devices used to operate the door remotely using a security code.
- Safety Sensors (Photo Eyes & Infrared Sensors): Positioned near the floor to detect obstructions and prevent accidents.
- Wall Switch & Control Panel: Manual control points inside your garage.
- Circuit Board & Receiver: Electronic systems managing signals from remotes and sensors.
- Antenna Wire: Extends from the motor unit to receive wireless signals.
- Trolley, Drive Belt, Chain Drive & Pulley System: Mechanical parts that physically move the door along the opener rail.
- Limit Switch & Travel Adjustment: Controls how far the door opens and closes.
- Battery Pack & Remote Battery: Provide backup power to the opener and remotes.
- Manual Release & Emergency Release: Allows manual operation during power outages or emergencies.
- Light Bulb: Illuminates the garage when the door operates.
- Door Springs, Mounting Brackets, Rollers, Cable Drum & Hinge Pins: Structural components supporting and moving the door itself.
Common Garage Door Opener Issues and How to Identify Them
If your garage door is misbehaving, identifying the specific symptom is the first step toward resolution. Here are frequent issues and their indicators.
- Garage Door Won’t Open: No response from the motor unit or door panel despite pressing the remote or wall switch.
- Remote Not Working: Pressing the remote control yields no action; possible causes include remote battery, security code mismatch, or receiver issues.
- Door Reversing Unexpectedly: Door opens but reverses midway due to sensor misalignment or obstruction detection.
- Loud Noises During Operation: Grinding, squeaking, or rattling sounds indicating mechanical wear such as worn gear assembly or dry rollers.
- Opener Not Responding: Motor hums but door doesn’t move, possibly due to broken trolley, chain drive, or drive belt issues.
- Light Bulb Failure: Interior light does not turn on with opener activation, often a simple bulb replacement issue.
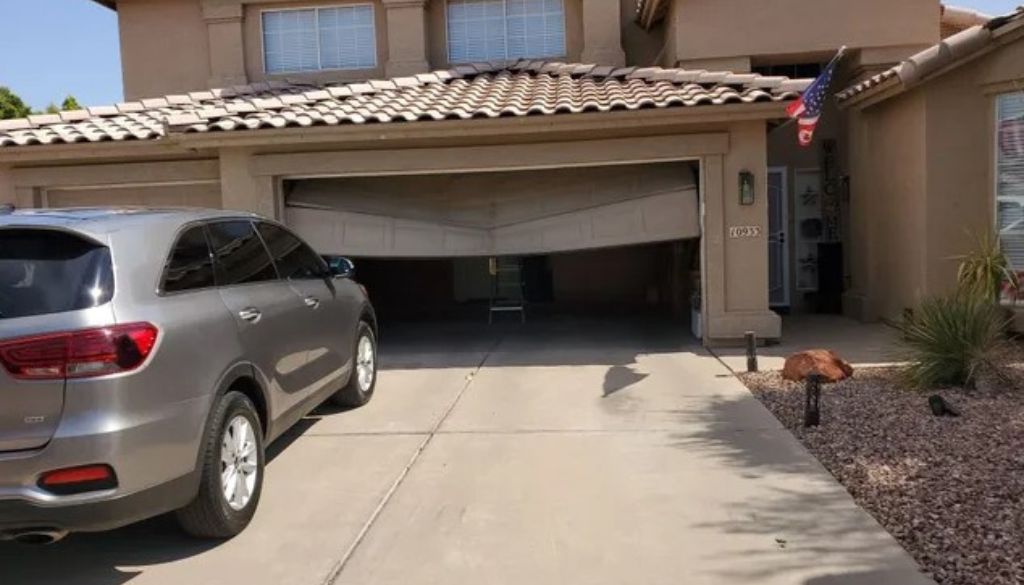
- Door Stuck Partially Open or Closed: Mechanical blockage, track misalignment, or resistance settings could be causing the door to halt.
- Slow Opening Speed: Door moves sluggishly, possibly due to lubrication needs or motor strain.
Remote Control and Wireless Keypad Troubleshooting
Remote control failure is a common complaint for homeowners. Troubleshoot using these steps:
- Check Remote Battery: Replace the remote or keypad batteries regularly — typically every 1 to 2 years.
- Verify Security Code: Ensure the remote’s security code matches the opener's receiver; reprogram if needed following the installation manual instructions.
- Inspect Receiver & Antenna Wire: Confirm the motor unit’s antenna wire is hanging freely and undamaged to allow proper signal reception.
- Avoid Signal Interference: Other wireless devices nearby can cause interference; try moving devices or relocating the opener’s antenna.
Power Supply and Electrical Checks
Electrical issues can mimic mechanical faults. Use this checklist to diagnose power-related problems:
- Confirm Power Supply: Verify the garage outlet has power by testing other devices or using a voltage tester.
- Inspect Circuit Board: Look for burnt or damaged components; circuit board failure often requires professional replacement.
- Use Reset Button/System Reset: Many openers include a reset button to restore factory settings — consult your user manual for exact procedure.
- Follow Manufacturer Support Guidelines: Refer to the installation or user manual for specific diagnostics or contact support if unsure.
Safety Sensors and Photo Eyes Issues
Safety sensors prevent accidents but can cause operational failure if misaligned or obstructed. Troubleshooting involves:
- Check Sensor Alignment: Photo eyes must face each other directly; even slight misalignment can trigger door reversal.
- Remove Obstructions: Clean away dirt, spider webs, or debris blocking the infrared sensors.
- Clean Lenses: Use a soft cloth and mild cleaner to wipe sensor lenses regularly for optimal performance.
- Inspect Wiring: Check wires connected to sensors for damage or disconnections affecting the infrared sensor signals.
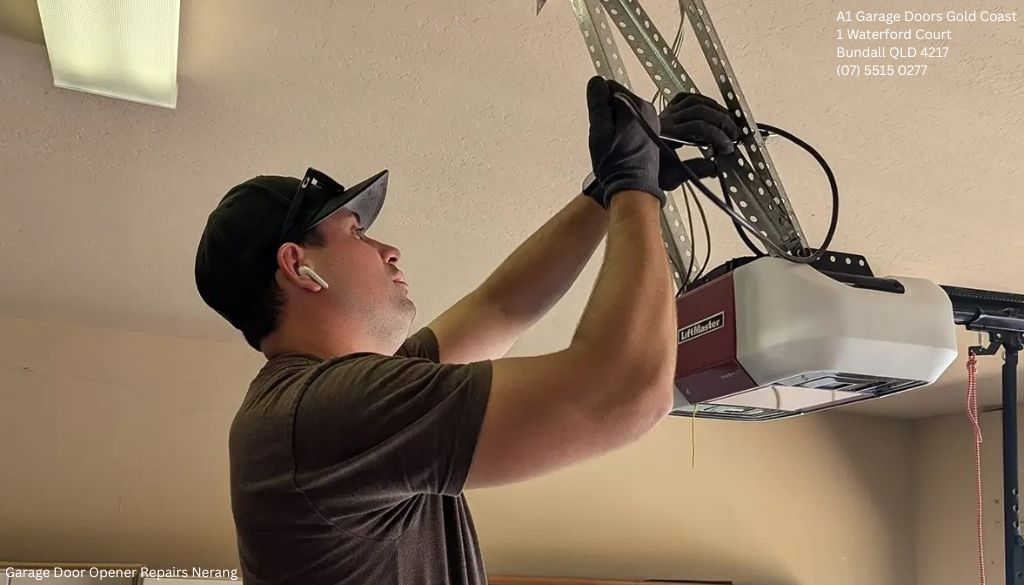
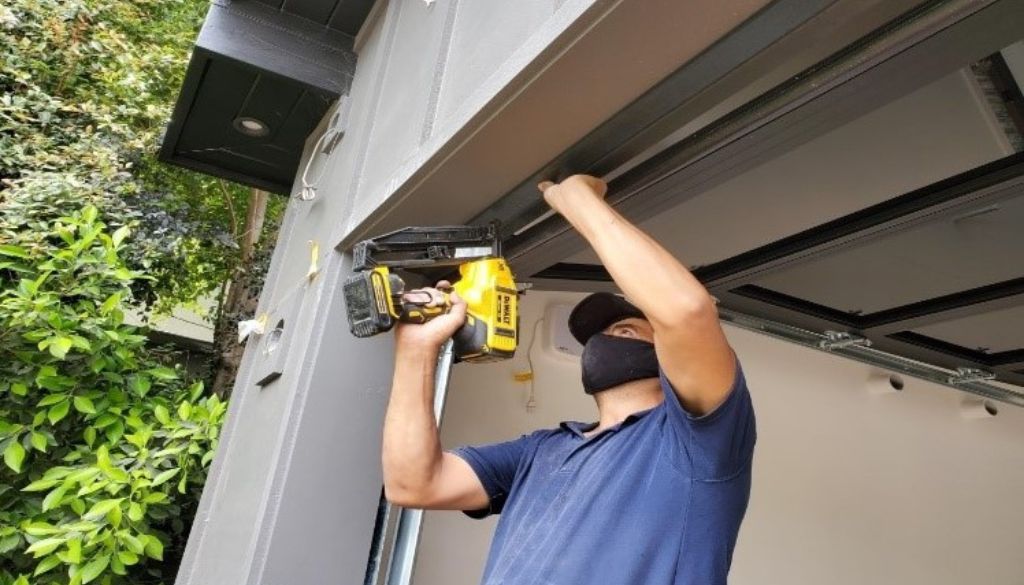
Mechanical Component Troubleshooting
Mechanical wear or damage can lead to noisy or erratic door movement. Examine these components carefully:
- Gear Assembly: Worn gears cause grinding noises and prevent smooth trolley motion; lubrication or replacement may be necessary.
- Trolley, Chain Drive & Drive Belt: Loose, broken, or worn chains and belts reduce efficiency — tighten or replace as needed.
- Pulley System & Cable Drum: Inspect for frayed cables or binding pulleys which can cause jerky movement or door sticking.
- Rollers & Hinge Pins: Replace any cracked or seized rollers and lubricate hinge pins for smooth articulation of door panels.
- Door Springs & Mounting Brackets: Broken springs are dangerous and require professional repair; ensure brackets are secure to maintain door stability.
- Track Alignment: Misaligned tracks prevent proper door travel; adjust mounting brackets to restore alignment carefully.
- Lubrication: Regularly lubricate moving parts with garage door-specific lubricant to reduce noise and wear.
Adjustment Settings for Optimal Performance
Incorrect opener settings can cause poor function. Proper adjustment includes:
- Travel Adjustment: Set how far the door moves up and down to avoid slamming or incomplete opening.
- Force Adjustment: Controls the strength exerted by the motor; too high can damage mechanisms, too low can cause premature reversal.
- Resistance Setting: Important for doors exposed to wind or heavy weight to prevent motor burnout.
- Locking Mechanism: Ensure any locks or manual latches don’t interfere with automatic opener operation.
- Opening Speed: Calibrate to smooth speed settings to avoid jerking movements.
- Diagnostic Mode & Fault Codes: Many modern openers provide diagnostic LEDs or codes indicating specific faults; refer to the user manual to decode these.
Step-by-Step Garage Door Opener Troubleshooting Guide
This step-by-step approach will help you systematically diagnose and fix most garage door opener problems:
When to Call a Professional: Signs You Need Expert Help
While many issues can be resolved DIY, certain signs indicate the need for professional intervention:
- Persistent Complex Faults: Repeated malfunction after basic troubleshooting may suggest circuit board failure or severe mechanical damage.
- Broken Door Springs: These are under high tension and dangerous to handle without specialised tools and knowledge.
- Wiring and Electrical Concerns: If power supply or motor unit wiring appears damaged or unsafe, contact an electrician or technician.
- Warranty Considerations: Attempting repairs on a unit under warranty could void coverage; consult manufacturer support first.
- Replacement Advice: Experts can assess whether repairs are cost-effective or if replacing the garage door opener is more sensible.
Professional repair services offer precise diagnostics, proper calibration, and safe handling of high-tension parts and electrical components.
FAQ: Quick Answers to Common Garage Door Opener Questions
Why is my garage door opener not responding to the remote?
Common causes include dead remote batteries, incorrect security codes, antenna wire issues, or wireless signal interference. Try replacing batteries and reprogramming the remote.
How do I realign my garage door safety sensors?
Ensure both photo eyes face each other directly at the same height. Gently adjust brackets until indicator lights show stable alignment, cleaning lenses beforehand.
What does it mean when my garage door reverses suddenly?
The door likely senses an obstruction via the safety sensors or force settings may be too sensitive. Check sensor alignment and adjust force settings cautiously.
How can I reset my garage door opener system?
Locate the reset button on garage door services the motor unit and press it according to your model’s user manual instructions. Alternatively, unplugging the unit for a few minutes may perform a system reset.
Why is my garage door opener making loud grinding noises?
Grinding often indicates worn gear assemblies, dry or damaged rollers, or loose chains/belts. Lubricate parts and inspect gears for damage; replace if necessary.
Can I troubleshoot motor unit problems myself?
Basic troubleshooting like checking power, listening for motor hum, and resetting can be done safely. However, internal motor repairs should be left to professionals due to electrical risks.
How often should I replace the batteries in my remote or keypad?
Typically every 1 to 2 years or when the remote starts showing reduced range or responsiveness. Using quality batteries ensures longer life.
What is the emergency release and when should I use it?
The emergency release disengages the door from the opener’s trolley, allowing manual operation during power failures or mechanical faults. Use it only when the door is stationary and safe to operate manually.
How do I know if my garage door opener needs professional repair or replacement?
If troubleshooting steps fail, noises worsen, or major components like springs or circuit boards are damaged, consult a professional. Frequent breakdowns or outdated units may warrant replacement.
In conclusion, understanding your garage door opener’s components and following systematic troubleshooting steps can resolve most common problems efficiently. Regular maintenance, careful adjustments, and timely intervention will extend your opener’s lifespan and ensure smooth operation. When in doubt, seeking professional assistance ensures safety and proper repair, keeping your garage door reliable and convenient for years to come.